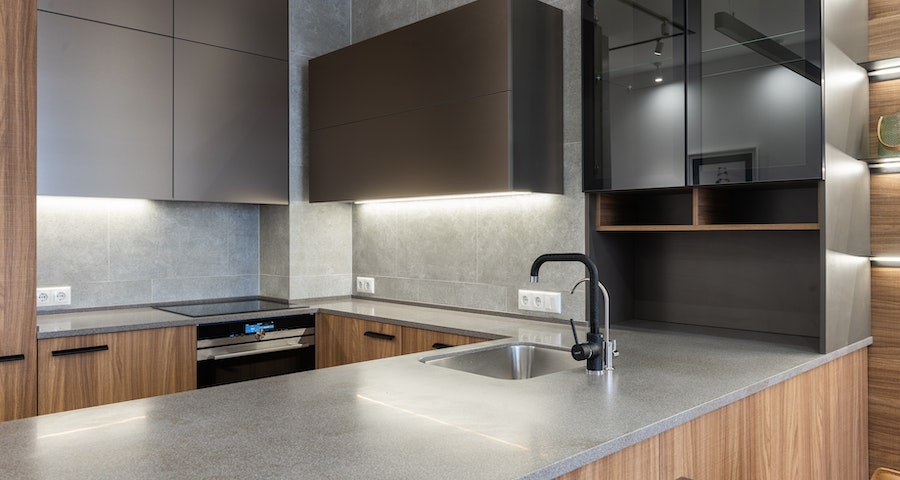
Kitchen faucets can make or break the functionality of your kitchen. The right kitchen faucet should be easy to use, durable, and reliable. It should also complement the style of your kitchen and match your decor. One of the best ways to ensure that your kitchen sink looks good and functions well is to install a DIY kitchen faucet. This is easier than you might think and can save you a fortune compared to hiring a professional plumber. In this article, we’ll provide you with all the essential steps required to install the right tap DIY kitchen faucet.
Contents
Step 1: Gather Essential Tools and Materials
Before you start installing the DIY kitchen faucet, you must gather all the tools and materials required for the job. This includes a basin wrench, adjustable wrench, Teflon tape, silicone sealant, pliers, and a new kitchen faucet. It is always advisable to research the type of faucet you want to install and the specific tools you need to get the job done.
Step 2: Disconnect the Old Kitchen Tap
Once you have all the tools and materials required, you need to disconnect your old tap. To do this, turn off the water supply under the sink, and unscrew the nuts that hold the pipes connected to the old tap. You might need to use a basin wrench to do this. After disconnecting, clean the sink’s surface and make sure it is dry.
Step 3: Install the Faucet Base
Apply silicone on the underside of the new faucet base’s plate, then insert it into the sink’s holes. You can use a tape measure to make sure it is centered. Tighten the mounting nuts from under the sink with your basin wrench while keeping the faucet level.
Step 4: Install the Faucet Handle
Once the faucet base is secured, attach the faucet handle to the base by screwing them together. Tighten them using an adjustable wrench but avoid over-tightening the handle. After that, attach the water supply lines to the bottom of the faucet with Teflon tape, connecting the cold water line leading to the right and the hot water line leading to the left.
Step 5: Test Your New Tap
After installation, turn on the water supply and check for any leaks. If everything is alright, congratulate yourself for a job well done!
Conclusion
In conclusion, a DIY kitchen faucet installation can improve the functionality and appearance of your kitchen. It is also straightforward and cost-effective if you follow the right steps. You must gather all the tools and materials required, disconnect the old tap, install the faucet base, faucet handle, and test your new tap. With this guide, you can install the right tap DIY kitchen faucet in no time and enjoy the convenience of a new, efficient faucet.
