Are you searching for a fun outdoor project that will bring excitement to your weekends? Look no further than transforming your board into a kart! With a few simple materials and some creativity, you can build a kart that will provide endless entertainment for the whole family. In this blog post, we will guide you through the steps to create your board kart, including the necessary tools, materials, and tips for adding personal flair. Buckle up, it’s time to hit the pavement!
Contents
The first step to creating your board kart is to gather all of the necessary tools and materials.
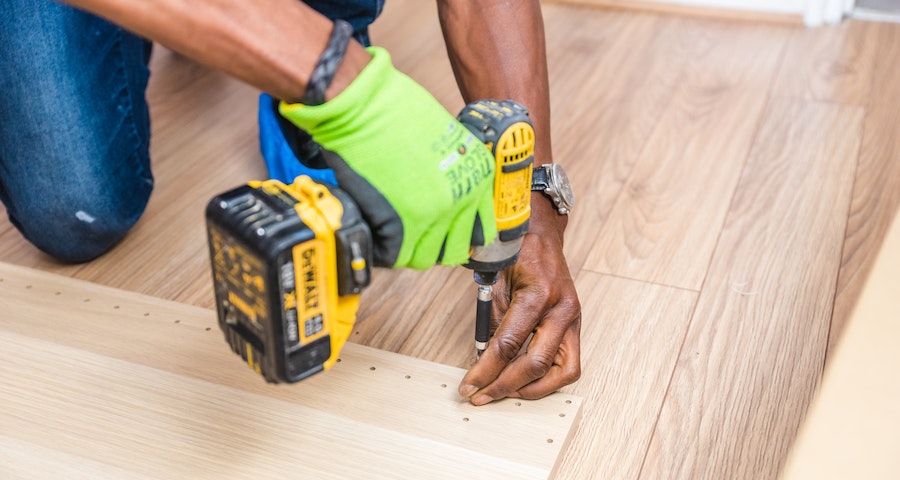
You will need standard woodworking tools such as a saw, drill and screws, as well as a few extra materials such as wheels, axles, and steering mechanisms. Kits can often be purchased online or at your local hardware store for convenience, but there is also the option to purchase the parts separately. Make sure to do your research and have everything you need before starting the project.
Once you have all the materials, it’s time to get to work! The first step is to cut the board to the necessary size for your kart. A standard size is around 3.5 feet long by 1.5 feet wide. Next, attach the wheels and axles to the board, making sure they are secure. Depending on your preference, you can opt for a classic four-wheel design or a three-wheel design for extra maneuverability. For steering, many people choose to use a rope system attached to the front axle.
Now it’s time to add some personal flair to your newly constructed kart.
Whether it’s a paint job, decals, or a custom design carved into the board, the possibilities are endless. You also have the option to add a seat or handlebars for additional comfort and control. These extra touches not only make your kart unique, but they also increase the fun factor for riders.
Before taking your board kart for its first spin, it’s important to make sure it’s safe.
Inspect all of the axles and connections to ensure they are secure and tightened appropriately. Test the brakes, if applicable, and make adjustments if necessary. Always wear a helmet and protective gear while riding the kart. Now it’s time to take your kart for a spin down the street or around a nearby park. Enjoy the exhilaration of the wind in your hair while you show off your new DIY creation to your family and friends.
Conclusion
Transforming your board into a kart is a fun and exciting project that can provide entertainment and recreation for everyone in your family. With some creativity and a few tools, you can build a rideable kart that is personalized to your exact specifications. Make sure to follow safety precautions and add personal touches to your kart to make it unique. Not only will it impress your friends and family, but it will be a source of pride as you zoom around your neighborhood. So what are you waiting for? Start gathering your materials and embark on this epic outdoor project today!
