When it comes to renovating your home or giving it a fresh new look, plastering is often an essential part of the process. Whether you are filling cracks, repairing damage, or just adding some texture to your walls, plastering can transform your living space. However, hiring professionals to do the job can be expensive, and if you are looking for a budget-friendly option, DIY plastering can be a great alternative. In this guide, we will provide some useful tips and tricks to help you give your DIY plastering work a professional look.
Contents
Choose the Right Materials
Before beginning any DIY plastering, it is essential to have the right materials. The materials that you choose will play a crucial role in the final result of your project. Choosing the right plaster mix is vital, and you can either pick up ready-made mixes or create your own. Some tips for DIY plastering include following the manufacturer’s instructions well, ensure that you mix to the right consistency and making sure that the materials you choose match the texture of your wall.
Prepare Your Surface
Before applying plaster, it is crucial to prepare your surface adequately. Make sure that any loose debris, wallpaper, or paint that could stick to the wall has been removed. Once you have scraped the surface, wipe it down with a damp cloth to get rid of any remaining dust or debris. Applying a bonding agent to the surface can also help the plaster adhere better.
Apply Plaster Efficiently
After preparing the surface, you can begin plastering. Apply the plaster in small sections, starting from the top of the wall downwards. Use a trowel to spread the plaster evenly, ensuring that it is not too thick or too thin. Pat the plaster with the trowel, and follow up with a cross-hatching technique to establish good coverage and a smooth finish.
Smooth Out Any Imperfections
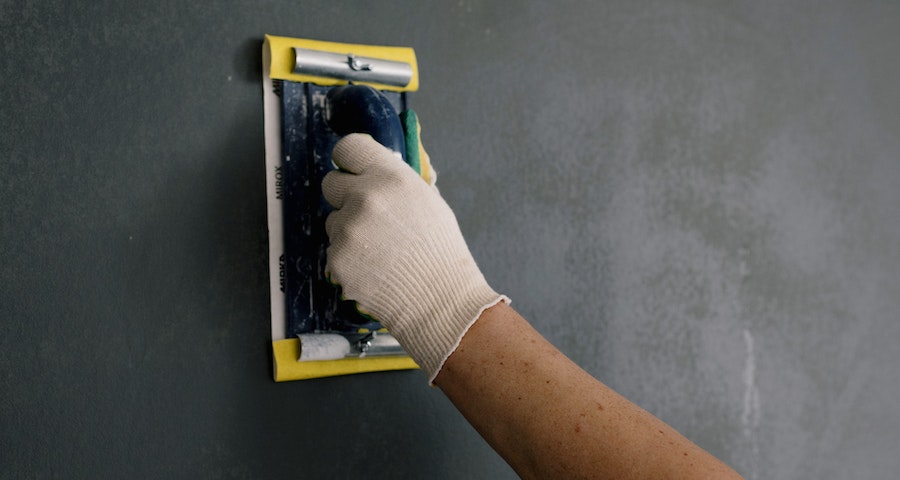
Once the plaster has been applied, let it dry for a few hours. Once it is dry, use a damp sponge to smooth out any bumps, ridges, or imperfections that may appear on the surface. Sanding down any rough spots with sandpaper can also help smooth out the surface. Always be careful not to over-sand the surface, which could lead to more damage, and make sure to clean up any dust afterward.
Final Touches and Decorating
After smoothing the surface, you need to apply the finishing touches. Use fine-grit sandpaper to sand the surface once again to remove sanding marks, and then remove any remaining dust. Finish by painting, wallpapering or decorating the surface the way you desire.
Conclusion
DIY plastering can be achieved with the right tips and techniques. It is important to carefully select the materials, prepare the surface, apply plaster properly, smooth out imperfections and finish with the final touches. Following these tips will go a long way to help you achieve a professional-looking project and save you some money. However, if you are not confident in your DIY skills, it is ideal to call in professionals to help you. With these tips, you can successfully transform your living space, giving it a fresh, updated look with a touch of professionalism.
